Service Host local System High CPU Usage Windows 10

Did you notice Laptops running slow after Windows 10 Update? There is a process called, “service host local system” consuming a lot of CPU, Memory, and disk. If you are struggling with service host local system high CPU on Windows 10, Here are some effective solutions you may apply.
What is the Service host local system?
Service host local system (svchost.exe) is a common service hosting container, built to perform few numbers of System Scheduled Tasks Automatically. There are many Service Host containers, such as Service Host: Local Service, Service Host: Local System, Service Host: Network Service, etc and all of them are essential for the smooth functioning of Windows.
Service Host: Local System includes a process such as a User Manager, Group Policy Client, Windows Auto Update, Background Intelligent Transfer Service (BITS), Task Scheduler etc. if a particular process is constantly taking a large chunk of your system resources then it can be a problem. And you may face service host local system high CPU or 100% Disk usage problem on windows 10
Fix service host local system high CPU usage
First of all make sure windows have installed the latest updates on your device. Or you can Install the latest updates from settings, Update & Settings > check for updates.
Temporarily Disable antivirus (if installed) software and check there is no more High CPU usage by service host local.
Perform a clean boot and check if any third-party application is causing the conflict.
Check How to perform a clean boot in Windows 10
Note: After you have finished troubleshooting, follow these steps to boot to normal startup.
a) Press the ‘Windows + R’ key on the keyboard.
b) In the ‘Run’ windows type ’MSCONFIG’ and click ‘Ok’.
c) On the ‘General’ tab, click the ‘Normal Startup’ option, and then click ‘OK’.
d) When you are prompted to restart the computer, click ‘Restart’
Disable Backup Intelligent Transfer Service
- Press Windows Key + R then type service.msc and hit Enter.
- Look for a service named, Backup Intelligent Transfer, Right-click and select properties.
- Under Service status, if the service is running click on
- Now from the Startup type drop-down select
- Click Apply followed by OK.
- Reboot your PC to save changes.
Do the same with Superfetch and Windows update services. Check there is no more High CPU usage problem on windows 10.
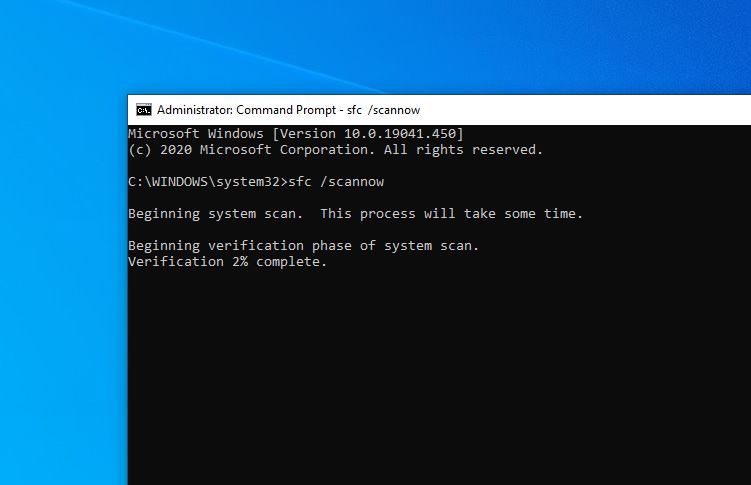
Run SFC and DISM scan
- Open Command prompt as administrator
- Type command sfc /scannow and ok to run system file checker utility
- This will scan for corrupted missing system files on your system.
- If found any the SFC utility automatically restores them from a compressed folder located %WinDir%\System32\dllcache
- Wait until 100 % complete the scanning process
- After that restart windows and check the problem is resolved.

Note: If you couldn’t run SFC scan at all, you’ll need to use DISM scan instead. To do that, follow these steps:
- Open Command Prompt as administrator.
- When Command Prompt starts, enter DISM /Online /Cleanup-Image /RestoreHealth.
Run Windows Update troubleshooter
Some of the users report running windows update troubleshooter help them to get rid of the 100% CPU usage problem on windows 10.
- Open settings using the Windows + I keyboard shortcut
- Click Update & security then troubleshoot,
- Now select Windows update and run the troubleshooter.
- Restart windows Afte complete the troubleshooting process.
- Now check there is no more high CPU usage problem on windows 10.
Also, Open Device manager ( press Windows + R, type devmgmt.msc ), check and make sure you’ve latest drivers installed on the system.
Did these solutions help to fix “service host local system high CPU windows 10“? Let us know in the comments below.
