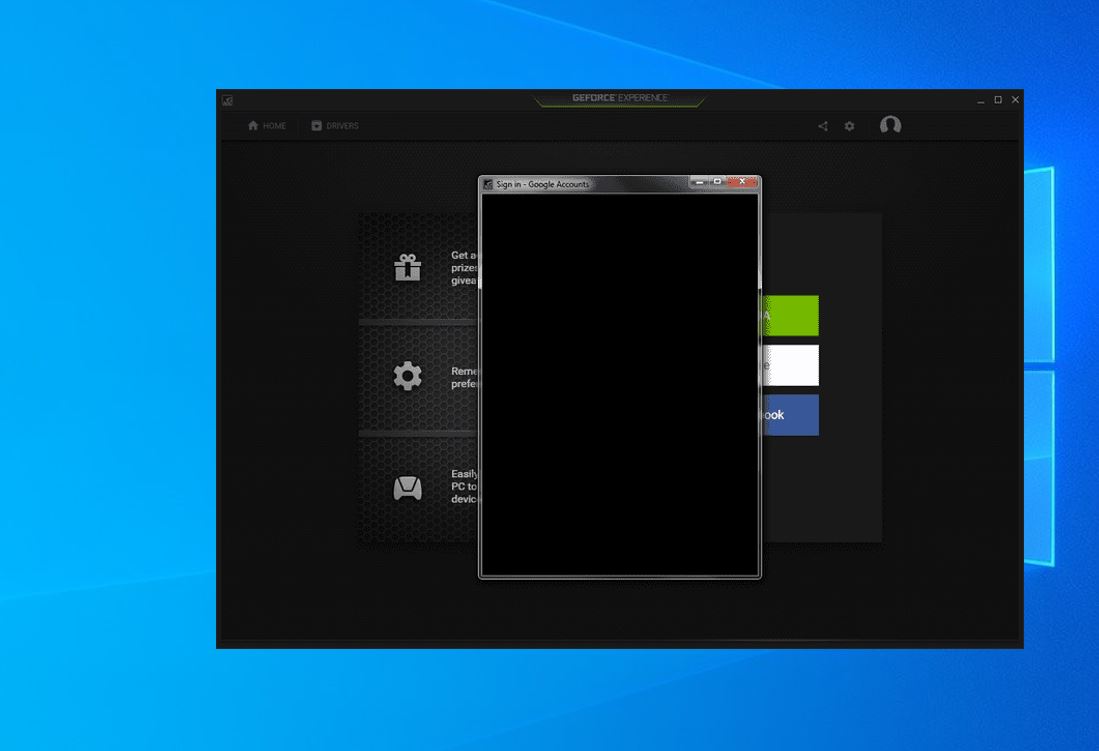
How to fix GeForce Experience Black Screen Issue on windows 10

Geforce Experience is a bundled software application install automatically when you install NVIDIA graphics driver and help keep Graphics Card drivers updated as well as installed appropriately. However, Some windows 10 users report Geforce Experience black screen issue on their computers or Black screen after NVIDIA driver update. The problem is quite irritating, If you are experiencing problems with Geforce Experience after updating the app or installing a fresh copy from Nvidia’s website apply the solutions listed below.
GeForce Experience Black Screen Issue
The common reason behind Geforce Experience Black Screen Issue is the driver compatibility issue. Again improper installation of the Nvidia Drivers, DirectX Issue or No internet access also cause this problem. Whatever the reason, here apply solutions listed below to fix the Geforce Experience black screen issue on Windows 10.

Run GeForce Experience with Integrated Graphics
- Right-click the GeForce Experience on your desktop, hover over your mouse on Run with graphics processor option then choose the Integrated graphics option from the sub-menu.
- If the GeForce launches without a black screen, click on the Driver tab and then click the Download button to update the integrated graphics driver. (Make sure you have a working internet connection)
Note: If you’re still seeing a black screen skip this step apply the next solution.
- After that, restart your computer and re-open GeForce Experience as usual to see the black screen error still persists or not.
- In addition, Right-click GeForce Experience icon and hover on Run with graphics processor, then select Change default graphics processor feature in the sub-menu.
- Here Ensure that the GeForce Experience is chosen in the Program Settings window.
- Click the following drop-down menu and choose Integrated graphics. After that, click Apply to execute it.
Roll Back the Integrated Graphics Driver
In some cases, the conflict between the dedicated graphics driver and the integrated ona can also cause this issue. Several users reported that rolling back the graphics driver to a previous version help fix the issue permanently.
- Press Windows key + R, type devmgmt.msc and click ok,
- This will open device manager and display all installed device driver list,
- Locate and expand the Display adapter and then right-click your integrated graphics driver and choose Properties from the prompted menu.
- Navigate to the Driver tab in the next window, click the Rollback driver option and follow on-screen instructions.
- Here if you see that the Roll Back Driver option is greyed out then click on Uninstall Device option and Follow the prompted instruction to finish the uninstallation.
- Then move to the official website of the integrated graphics driver and download the latest version.
